Monacaでアプリ開発② Onsen UIの利用
Onsen UI
Onsen UIは,ウェブアプリのためのUIコンポーネントを提供するライブラリです. UIコンポーネントには,ボタンやフォームだけでなく,タブ,サイドメニュー,ナビゲーションなどのデザインも含まれています. また,フレームワークのVue.jsに特化したコンポーネントが用意されており, サンプルを参考に実装することで,手軽にオシャレなウェブアプリを制作することができます. ここでは,下記のUIコンポーネントを利用してみます.
プロジェクトの作成
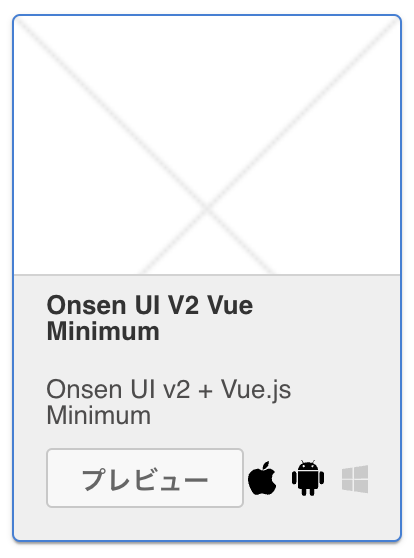
新規にプロジェクトを作成します. テンプレートは前回と同じ Onsen UI V2 Vue Minimum を選択しましょう.
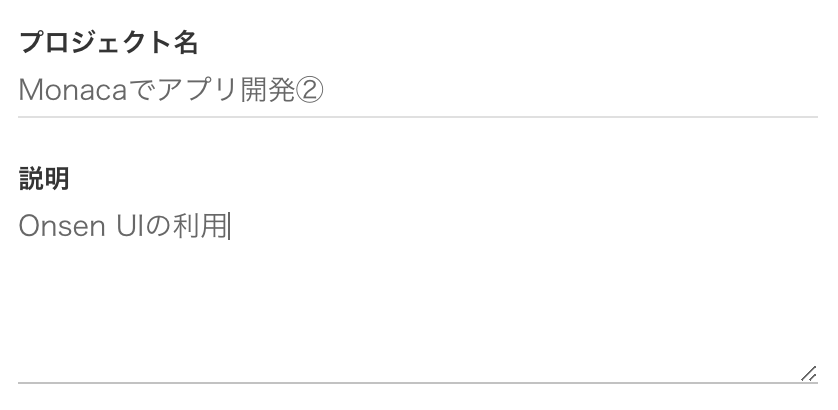
プロジェクト名に「Monacaでアプリ開発②」,説明に「Onsen UIの利用」を設定しましょう.
テンプレートの確認
クラウドIDEを起動し,テンプレートの/src/App.vueを確認します.
HTML
v-ons-toolbarの次にあるdiv要素とp要素を削除しておきます.
<template>
    <v-ons-page>
      <v-ons-toolbar>
        <div class="center">{{ title }}</div>
        <div class="right">
          <v-ons-toolbar-button>
            <v-ons-icon icon="ion-navicon, material: md-menu"></v-ons-icon>
          </v-ons-toolbar-button>
        </div>
      </v-ons-toolbar>

      <!-- 削除 -->

    </v-ons-page>
</template>
<script>
 /* JavaScriptのコード */
</script>
JavaScript
titleを アルバム に設定します.
methodsオプションの内容を削除しておきます.
export default{
  data() {
    return {
      title: 'アルバム'
    };
  },
  methods: {
    // 削除
  }
};
アルバムアプリの開発
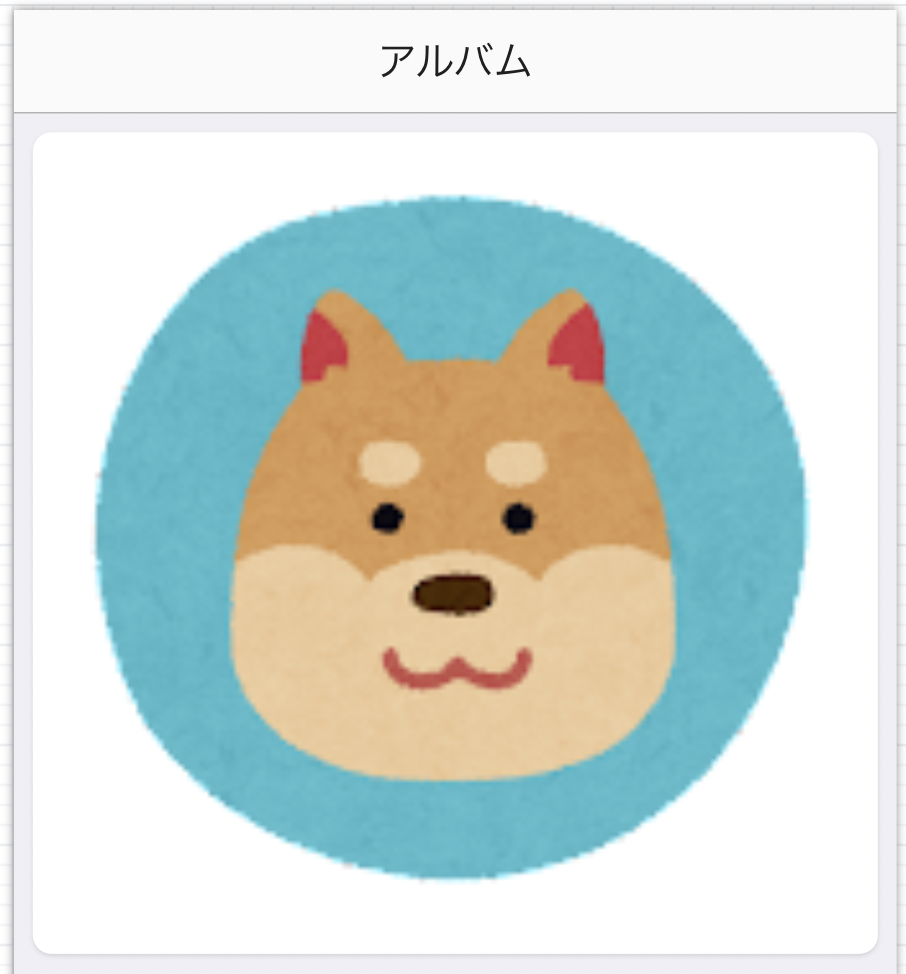
動物を紹介するアルバムアプリを開発します. かわいいフリー素材集 いらすとやで公開されている次のイヌとネコの画像を利用します. ファイルをダウンロードして,dog.png とcat.png にリネームしておきましょう.
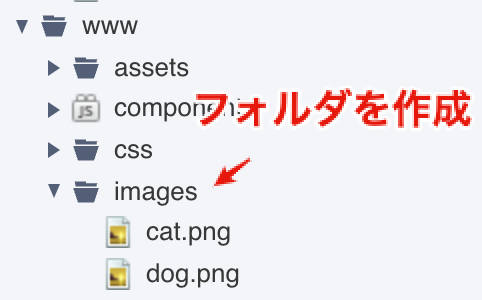
次に,wwwフォルダにimagesフォルダを作成し, dog.pngとcat.pngをアップロードしておきます.
v-ons-card
v-ons-cardコンポーネントを利用して,
動物を紹介するカード(ハイライトされたボックス)を作成します.
v-ons-car要素内には,imgタグでアップロードした動物の画像を表示します.
このとき,v-bindディレクティブで,画像ファイルを変数imageにバインドします.
v-bindは属性と変数を動的に関連付けるときに利用します.
<v-ons-card>
	<img v-bind:src="image" style="width: 100%">
</v-ons-card>
export default{
  data() {
    return {
      title: "アルバム",
      image: "images/dog.png",
    };
  },
  /* 省略 */
};
v-ons-list
v-ons-listコンポーネントを利用して,
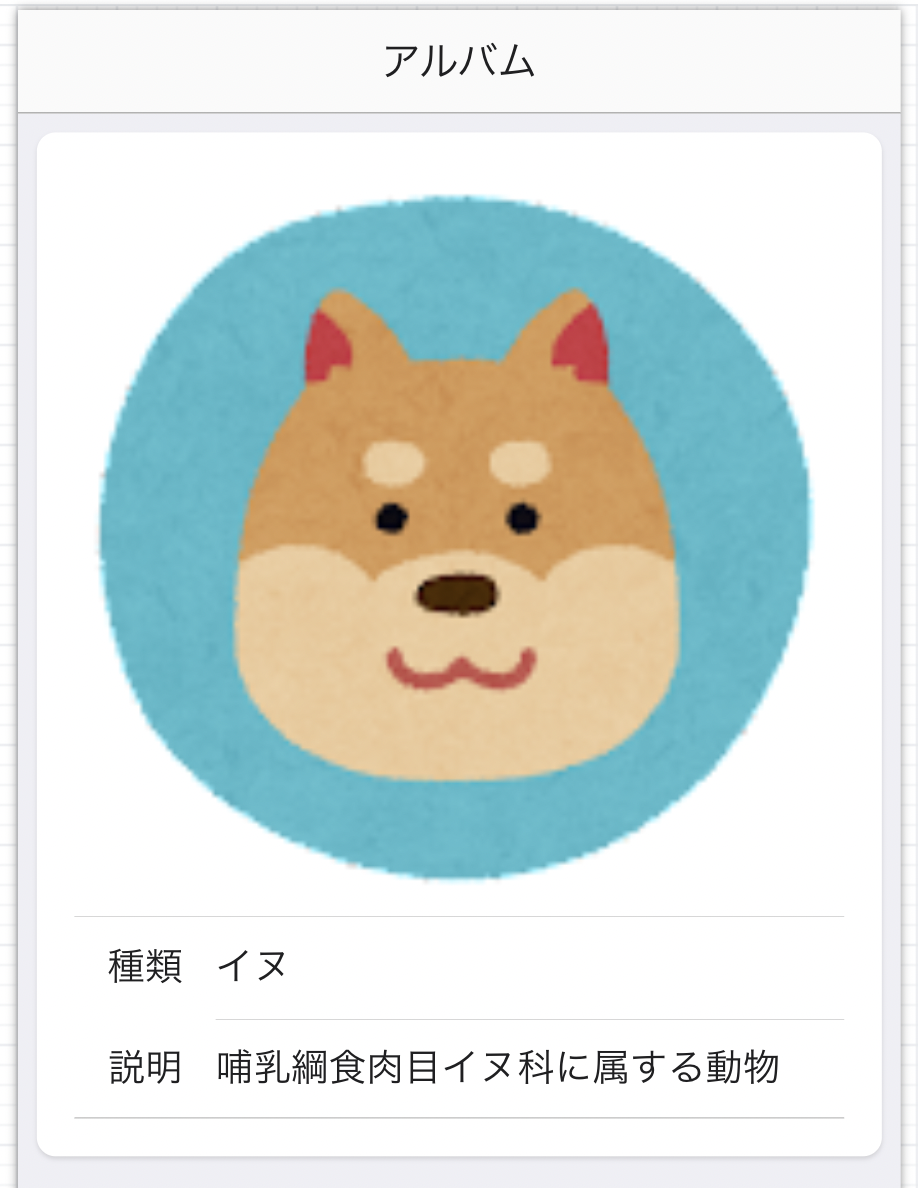
動物の種類と説明を記述するリスト構造を作成します.
v-ons-list要素内に,v-ons-list-itemタグでリスト項目を列挙します.
マスタッシュ構文でVueの変数であるnameとdescriptionを表示します.
<v-ons-list>

	<v-ons-list-item>
		<div class="left">
			種類
		</div>
		<div class="center">
			{{ name }}
		</div>
	</v-ons-list-item>

	<v-ons-list-item>
		<div class="left">
			説明
		</div>
		<div class="center">
			{{ description }}
		</div>
	</v-ons-list-item>

</v-ons-list>
export default{
  data() {
    return {
      title: "アルバム",
      image: "images/dog.png",
      name: "イヌ",
      description: "哺乳綱食肉目イヌ科に属する動物"
    };
  },
  /* 省略 */
};
v-ons-button
v-ons-buttonコンポーネントを利用して,
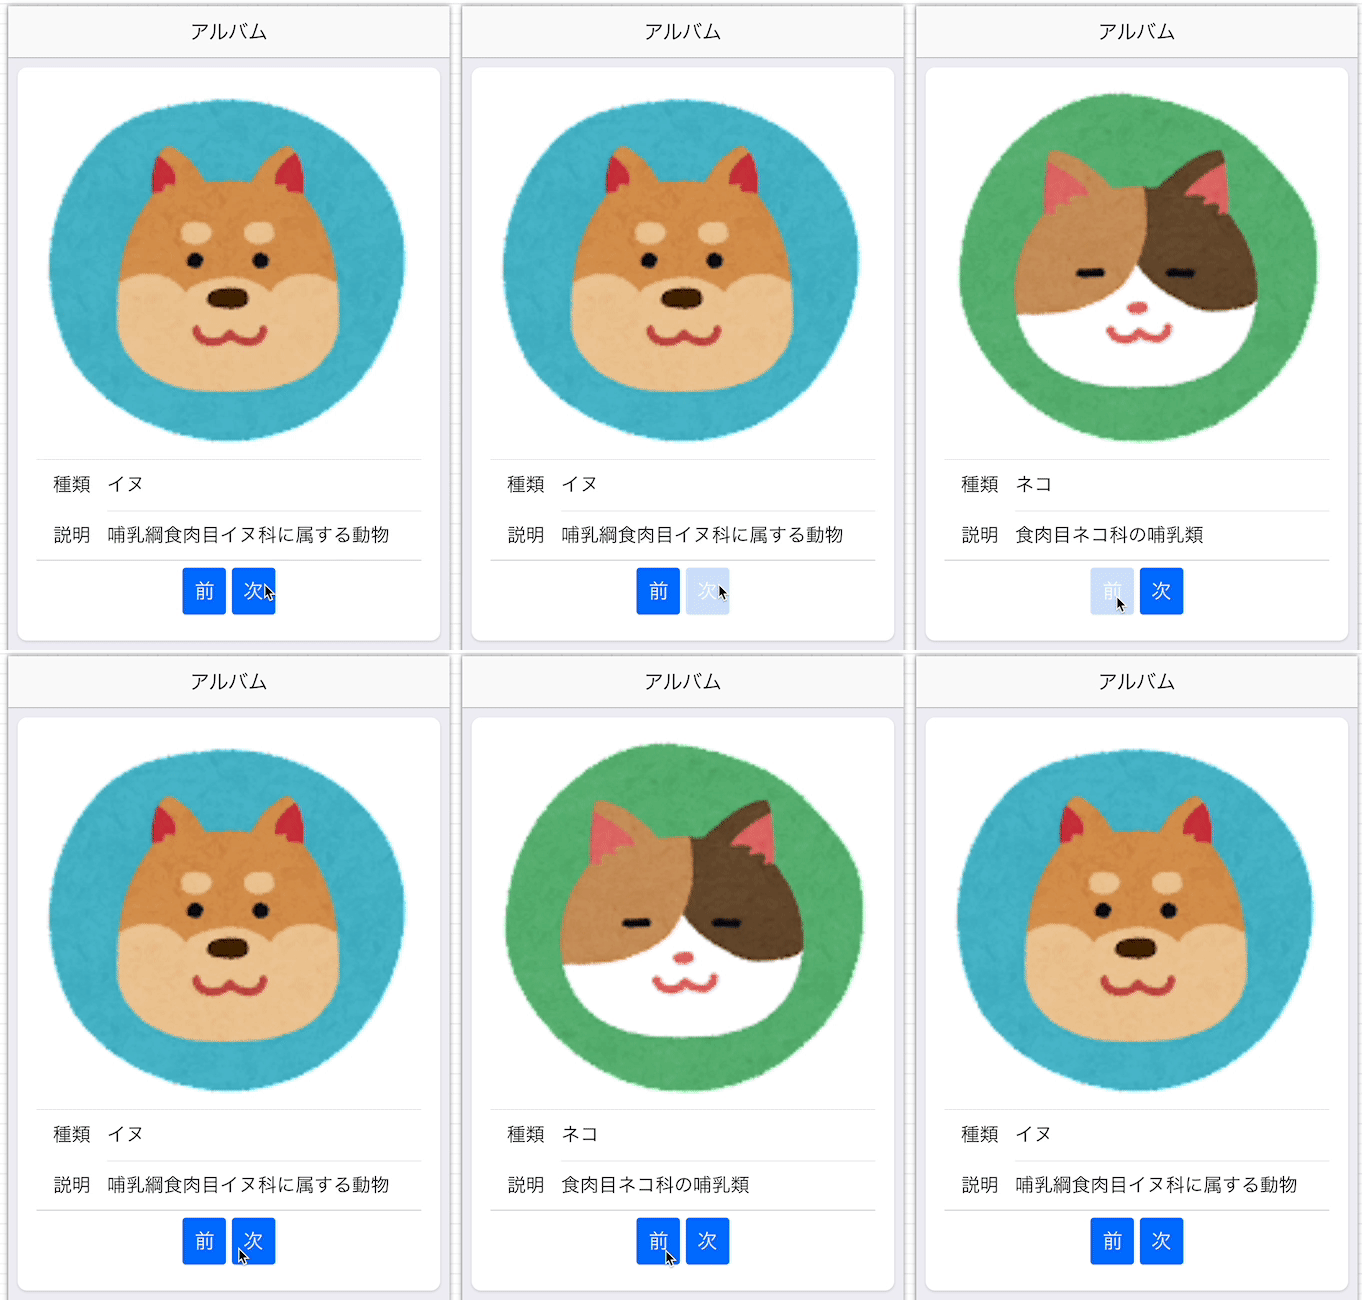
表示する動物の情報を切り替えます.
それぞれ,v-onディレクティブで,go_prevメソッドと,go_nextメソッドを呼び出します.
ここで,indexは表示する動物情報の配列番号を表しています.
<div style="text-align:center">
	<v-ons-button v-on:click="go_prev" style="margin: 6px 0">前</v-ons-button>
	<v-ons-button v-on:click="go_next" style="margin: 6px 0">次</v-ons-button>
</div>
// 動物情報のJSON
const animals = [
  {
    image: "images/dog.png",
    name: "イヌ",
    description: "哺乳綱食肉目イヌ科に属する動物"
  },
  {
    image: "images/cat.png",
    name: "ネコ",
    description: "食肉目ネコ科の哺乳類"
  }
];

export default{
  data() {
    return {
      title: "アルバム",
      index: 0, // 動物情報の配列番号
      image: animals[0].image, // "images/dog.png"
      name: animals[0].name, // "犬"
      description: animals[0].description // "哺乳綱食肉目イヌ科に属する動物"
    };
  },
  methods: {
    go_next(){ // 次の番号へ
      this.index += 1;
      this.image = animals[this.index].image;
      this.name = animals[this.index].name;
      this.description = animals[this.index].description;
    },
    go_prev(){ // 前の番号へ
      this.index -= 1;
      this.image = animals[this.index].image;
      this.name = animals[this.index].name;
      this.description = animals[this.index].description;
    }
  }
};
v-ons-icon
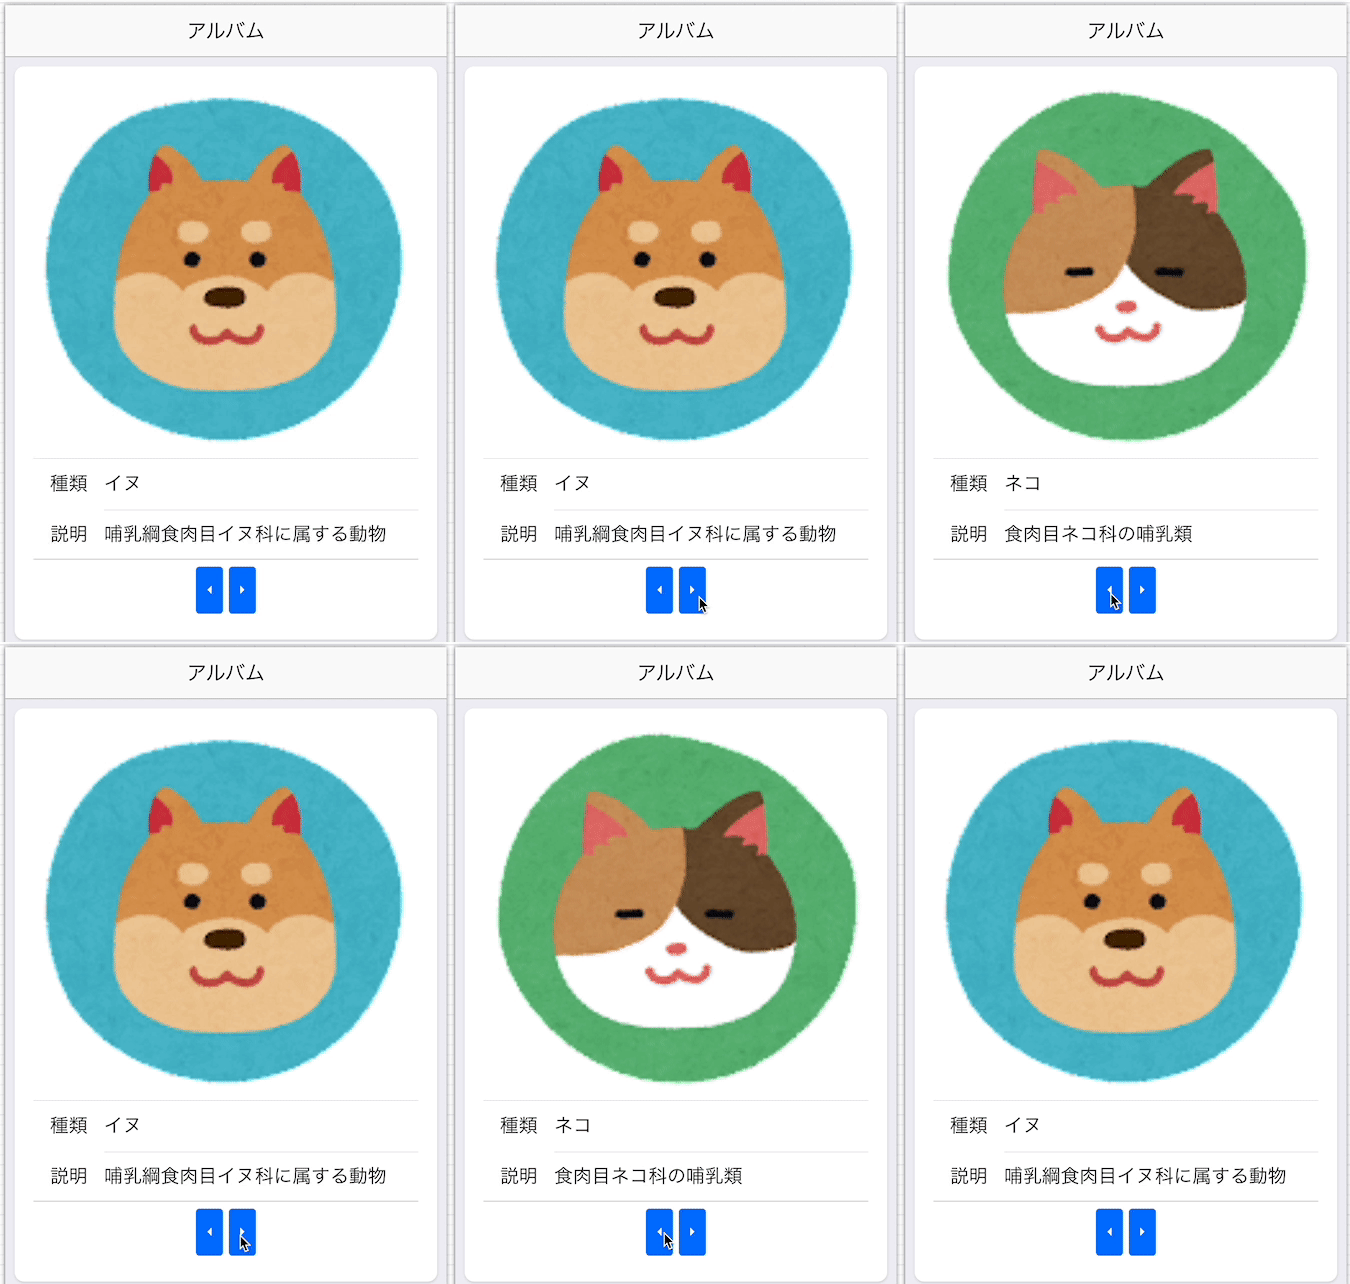
v-ons-iconコンポーネントで矢印のアイコンを表示します.
アイコンとして次の3種類のウェブフォントが利用可能であり,それぞれプレフィックスとしてmd,ion,faを設定します.
ここでは,Material Iconsのcaret-left(左向きの矢印)とcaret-right(右向きの矢印)を利用するため,md-caret-leftとmd-caret-rightを指定します.
<div style="text-align:center">
  <v-ons-button v-on:click="go_prev" style="margin: 6px 0"><v-ons-icon icon="md-caret-left"></v-ons-icon></v-ons-button>
  <v-ons-button v-on:click="go_next" style="margin: 6px 0"><v-ons-icon icon="md-caret-right"></v-ons-icon></v-ons-button>
</div>
課題
アプリが完成したら,次の課題に挑戦してみよう!
- 動物に関する情報を増やす
- 動物の種類を増やす
audioタグを利用して,動物の鳴き声を再生する(音声のダウンロード: 無料効果音で遊ぼう!)
<audio v-bind:src="sound" controls></audio>
data() {
  return {
    sound: "sound1.mp3"
  };
},
