p5.js②・アニメーションと衝突処理
p5.jsでアニメーション
p5.jsでアニメーションを表現するには,フレームごとに図形を少しずつ動かすことで,パラパラ漫画のように図形が動いているように錯覚させます. 1秒間に切り替わるフレーム数のことは,フレームレートと呼ばれます(単位はfps). p5.jsのフレームレートは,ディスプレイのフレームレートに基づいて決定され, 一般に60fpsが用いられることが多いです. ここでは,「ブロックくずし」を作成しながら,アニメーションや衝突の処理について学びます.
CodePenの準備
CodePenにアクセスして,Penを作成し,タイトルを設定しましょう. Penのタイトルは「Chapter12」に設定しましょう.
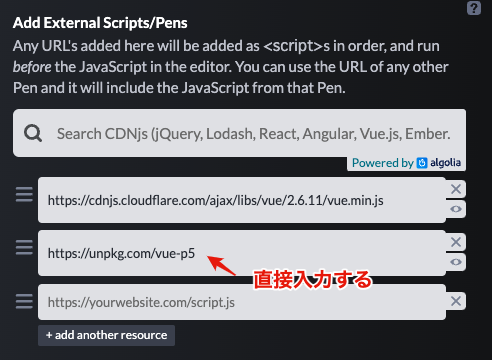
前回と同様にVue.jsとvue-p5のライブラリをペンに追加してください.
Vue.jsのバージョンは2.6.11,vue-p5はhttps://unpkg.com/vue-p5を直接入力してください.
vue-p5
HTMLは次のように記述します.
vue-p5タグにおいて,p5.jsの実装に必要なsetup()とdraw()を宣言します.
<!-- HTML -->
<div id="app">
  <h1>{{ title }}</h1>
  <vue-p5
    @setup="setup"
    @draw="draw">
  </vue-p5>
</div>
JavaScriptでVueクラスを定義します.
キャンバスの幅と高さはいずれも500px,キャンバスの背景色は黒色にします.
// JavaScript
new Vue({
  el: '#app',
  data: {
    title: "ブロックくずし",
  },
  methods: {
    setup(sketch){
      sketch.createCanvas(500, 500); // キャンバスの大きさ
      sketch.background("black"); // キャンバスの背景色
    },
    draw(sketch){
    }
  }
});
図形描画
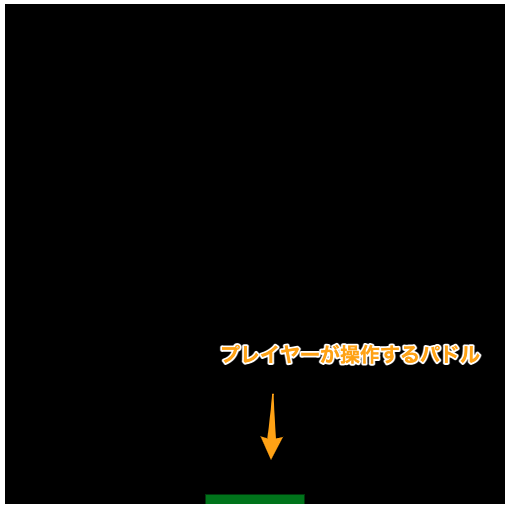
プレイヤーが操作するパドルを四角形で表現します.
dataオプションで,パドルの位置を表すplayer_xとplayer_yを定義します.
また,パドルの大きさは,幅が100,高さが50とします.
data: {
  title: "ブロックくずし",
  player_x: 250,
  player_y: 490,
}
上記で定義したplayer_xとplayer_yを利用して四角形を描きます.
四角形を描く関数はrect(x, y, width, height)です.
引数のx,yは四角形の左上の座標,widthは幅,heightは高さです.
パドルの中心をplayer_xとするため,四角形のX座標はx=this.player_x - 50となります.
また,fill(color)は,図形の塗りつぶしの色を設定します.
draw(sketch){
  sketch.fill("green");
  sketch.rect(this.player_x - 50, this.player_y, 100, 50);
}
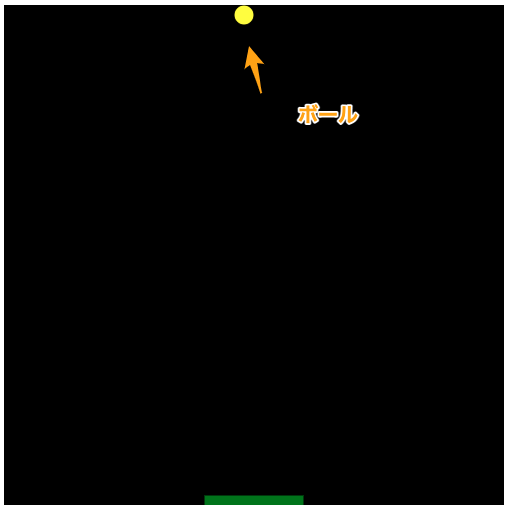
次にプレイヤーがパドルで跳ね返すボールを円で表現します.
dataオプションで,ボールの位置を表すball_xとball_yを定義します.
また,ボールの直径は20とします.
data: {
  title: "ブロックくずし",
  player_x: 250,
  player_y: 490,
  ball_x: 240,
  ball_y: 10,
}
上記で定義したball_xとball_yを利用して円を描きます.
円を描く関数はcircle(x, y, diameter)です.
引数のx,yは円の中心の座標,diameterは直径です.
draw(sketch){
  sketch.fill("green");
  sketch.rect(this.player_x - 50, this.player_y, 100, 50);

  sketch.fill("yellow");
  sketch.circle(this.ball_x, this.ball_y, 20);
}
アニメーション
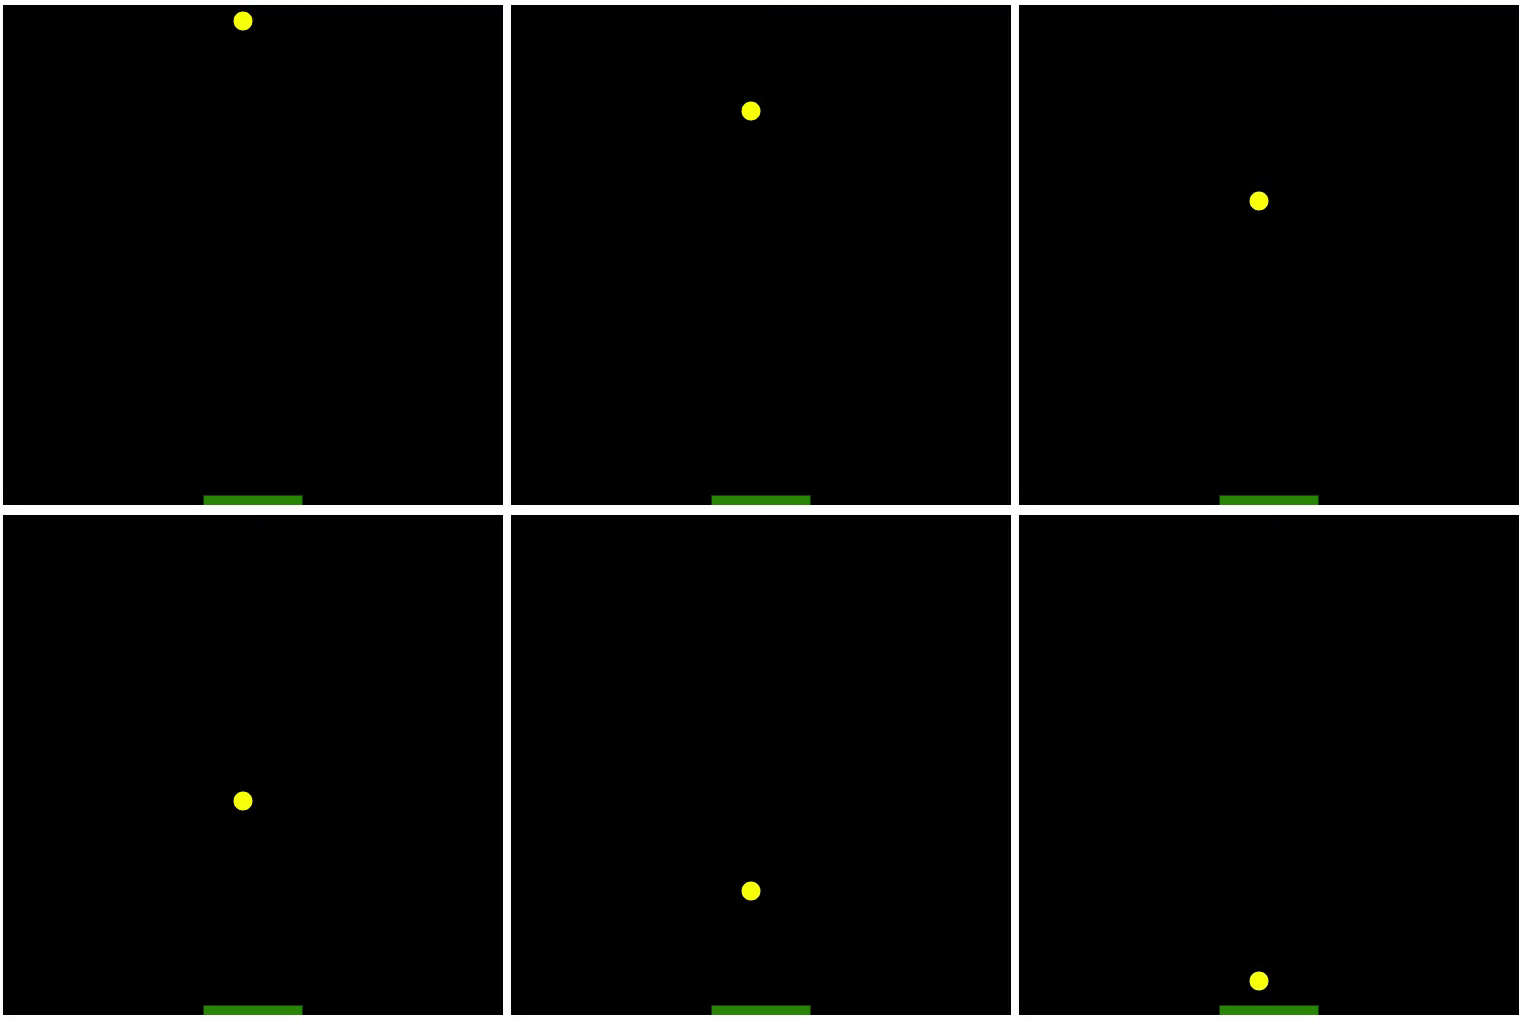
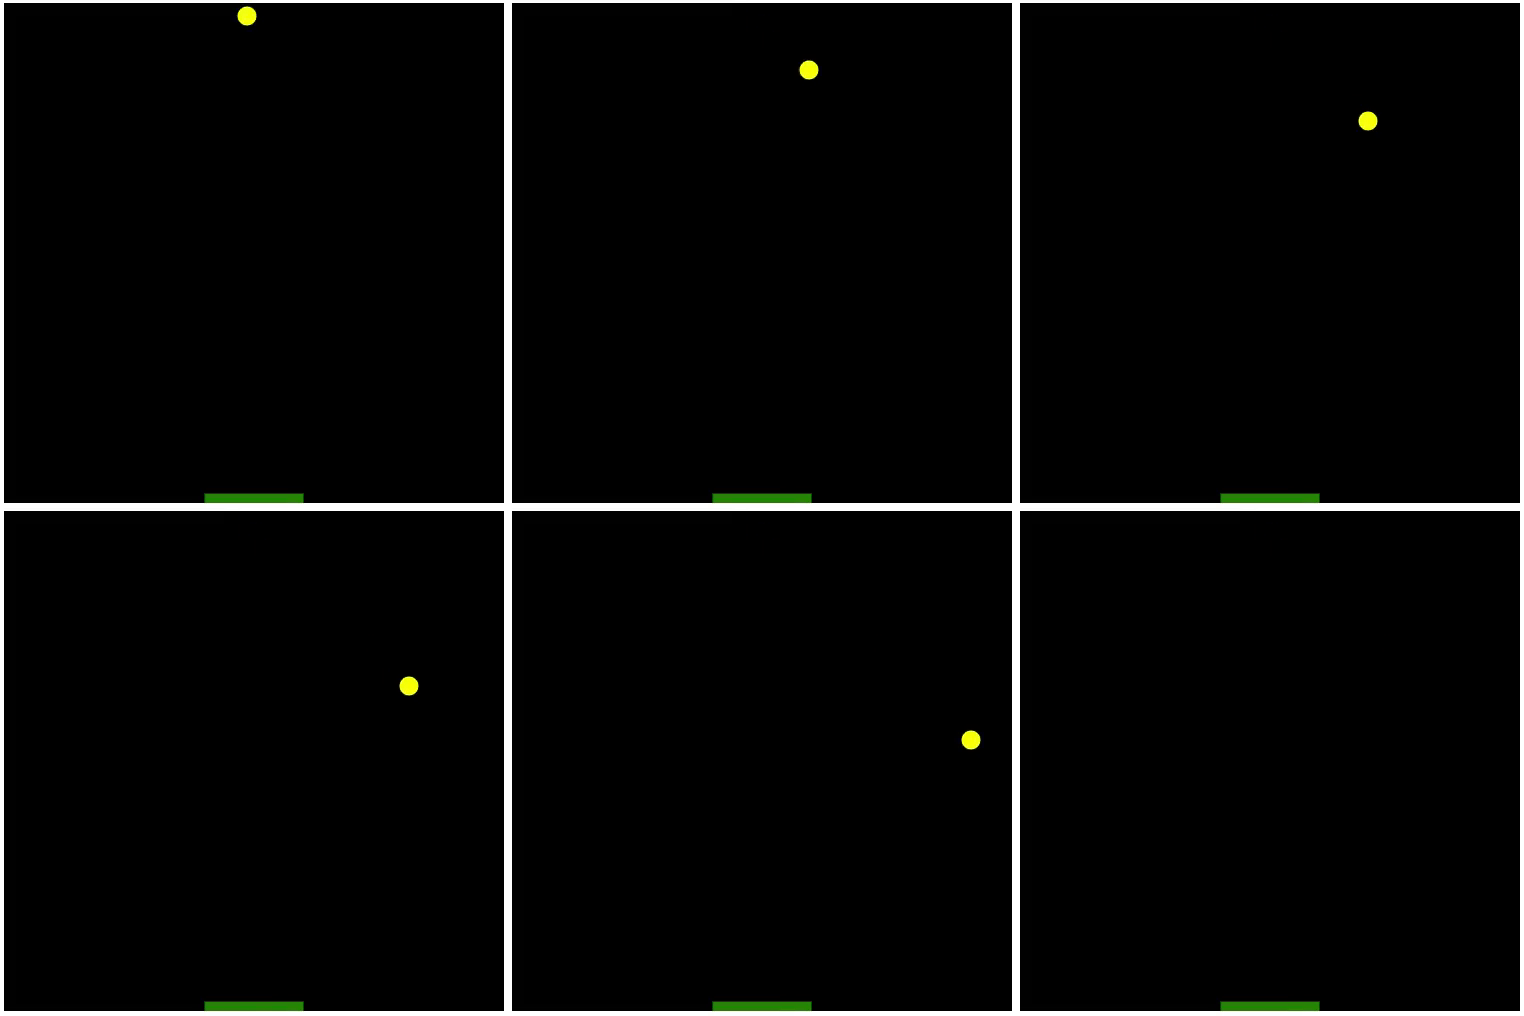
draw()でボールのY座標を更新することで,ボールの落下をアニメーションで表現します.
dataオプションで,ボールのY方向への速度を定義します.
data: {
  title: "ブロックくずし",
  player_x: 250,
  player_y: 490,
  ball_x: 240,
  ball_y: 10,
  ball_y_speed: 3,
}
ボールのY座標であるball_yに速度を加算することで,ボールの位置を更新します.
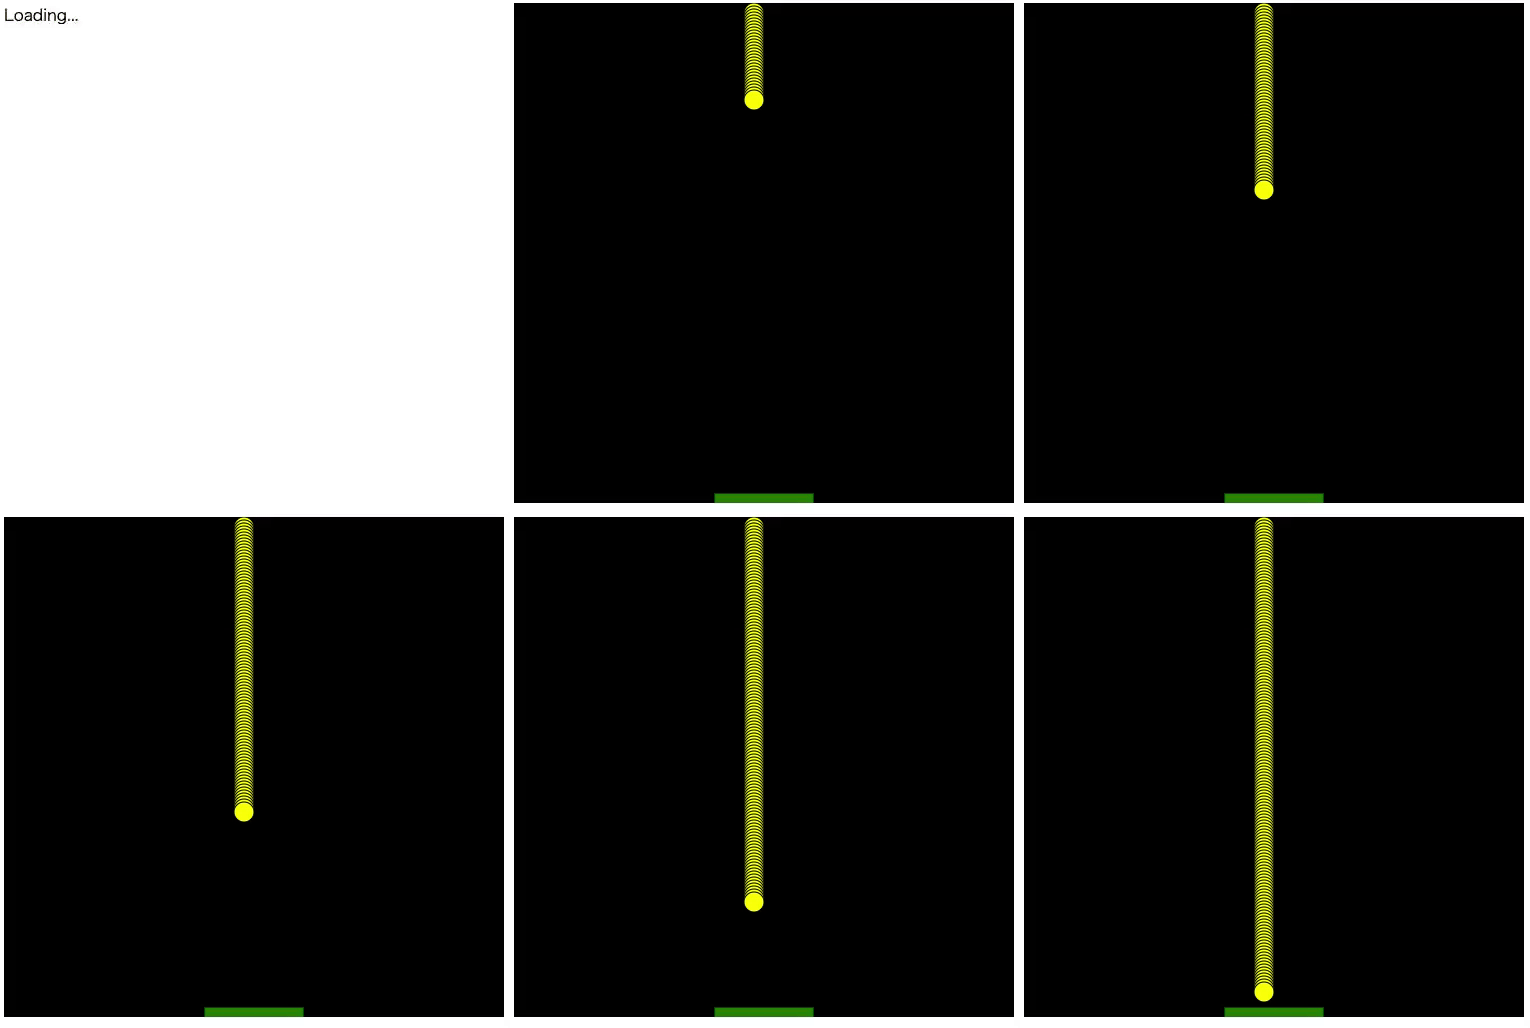
この場合,ボールは確かに落下しますが,移動後のボールが削除されず,軌跡として残ってしまいます.
draw(sketch){
  sketch.fill("green");
  sketch.rect(this.player_x - 50, this.player_y, 100, 50);

  sketch.fill("yellow");
  sketch.circle(this.ball_x, this.ball_y, 20);

  this.ball_y += this.ball_y_speed;
}
そこで,draw()の最初で,background(color)を用いて背景色を黒にリセットします.
これで,ボールの落下が表現できました.
draw(sketch){
  sketch.background("black"); // 背景色でリセット

  sketch.fill("green");
  sketch.rect(this.player_x - 50, this.player_y, 100, 50);

  sketch.fill("yellow");
  sketch.circle(this.ball_x, this.ball_y, 20);

  this.ball_y += this.ball_y_speed; // Y座標を更新
}
同様にボールのX座標も更新するようにしましょう.
data: {
  title: "ブロックくずし",
  player_x: 25,
  player_y: 490,
  ball_x: 240,
  ball_y: 10,
  ball_x_speed: 3,
  ball_y_speed: 3,
}
draw(sketch){
  sketch.background("black");

  sketch.fill("green");
  sketch.rect(this.player_x - 50, this.player_y, 100, 50);

  sketch.fill("yellow");
  sketch.circle(this.ball_x, this.ball_y, 20);

  this.ball_x += this.ball_x_speed;
  this.ball_y += this.ball_y_speed;
}
キーポイント
- アニメーションするにはdraw()で座標を少しずつ増やす(減らす)
イベントの処理
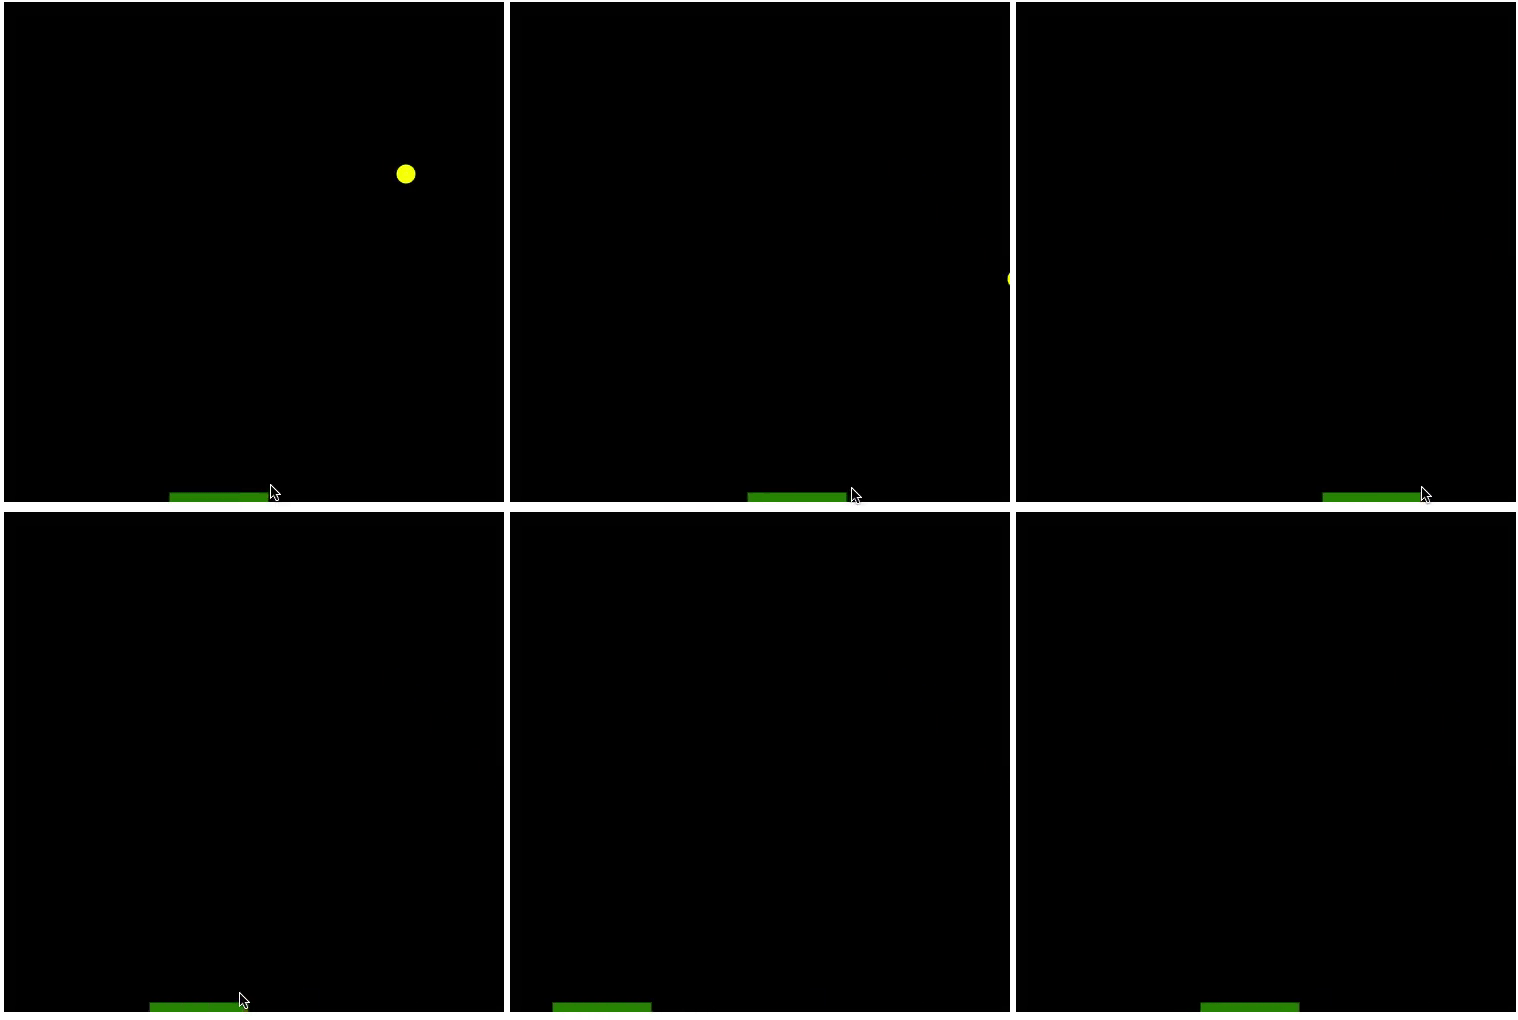
マウスの位置に合わせてパドルを動かしましょう.
マウスの移動を検知するには,mouseMoved()を定義します.
HTMLのvue-p5タグでmouseMovedを宣言する必要があることに注意してください.
<!-- HTML -->
<div id="app">
  <h1>{{ title }}</h1>
  <vue-p5
    @setup="setup"
    @draw="draw"
	@mouseMoved="mouseMoved">
  </vue-p5>
</div>
マウスのX座標はmouseX,Y座標はmouseYで取得可能です.
ここでは,マウスのX座標だけを用いて,パドルの位置を設定しています.
mouseMoved(sketch){
  this.player_x = sketch.mouseX;
}
キーポイント
- マウスの移動を検知するにはmouseMoved()
- マウスの位置はmouseXとmouseY
衝突の処理
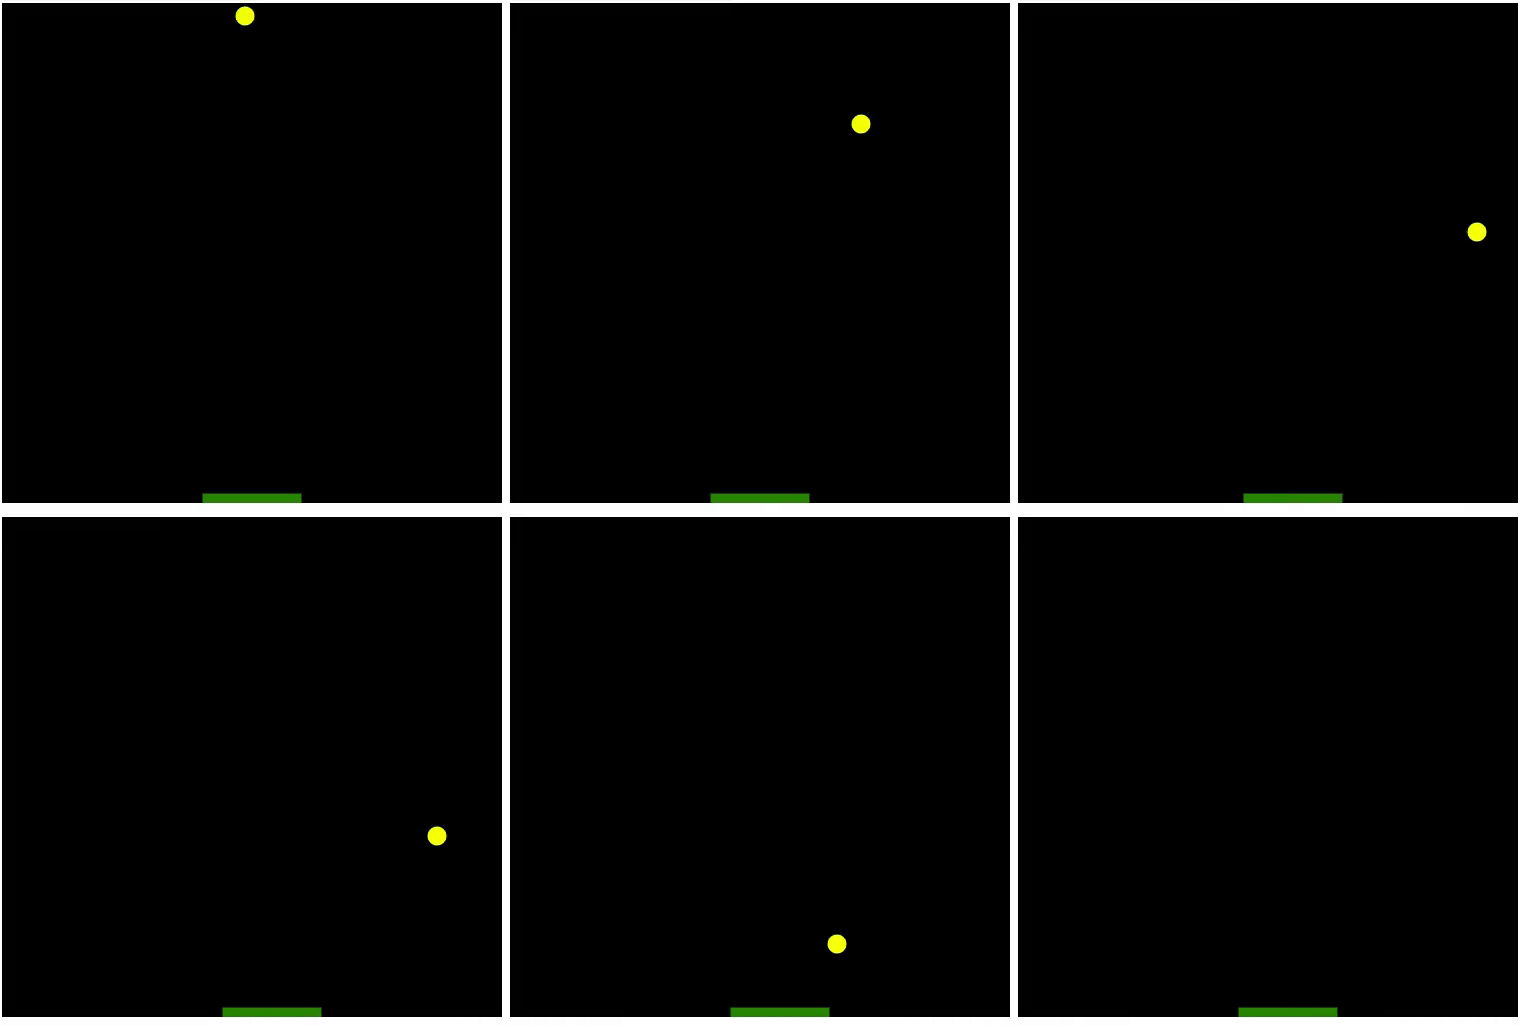
上と左右の壁に衝突したときに,ボールの速度を反転させて,逆方向に移動させます. ボールの直径が20であることから,半径10だけ壁からずらした座標を基準に衝突を判定します. 左右の壁に衝突したときはX方向の速度を反転し,上の壁に衝突したときはY方向の速度を反転します.
draw(sketch){
  sketch.background("black");

  sketch.fill("green");
  sketch.rect(this.player_x - 50, this.player_y, 100, 50);

  sketch.fill("yellow");
  sketch.circle(this.ball_x, this.ball_y, 20);

  this.ball_x += this.ball_x_speed;
  this.ball_y += this.ball_y_speed;

  // 左右の壁に衝突したらX方向の速度を反転
  if(this.ball_x < 10 || this.ball_x > 490){
    this.ball_x_speed = -1 * this.ball_x_speed
  }

  // 上の壁に衝突したらY方向の速度を反転
  if(this.ball_y < 10){
    this.ball_y_speed = -1 * this.ball_y_speed;
  }

}
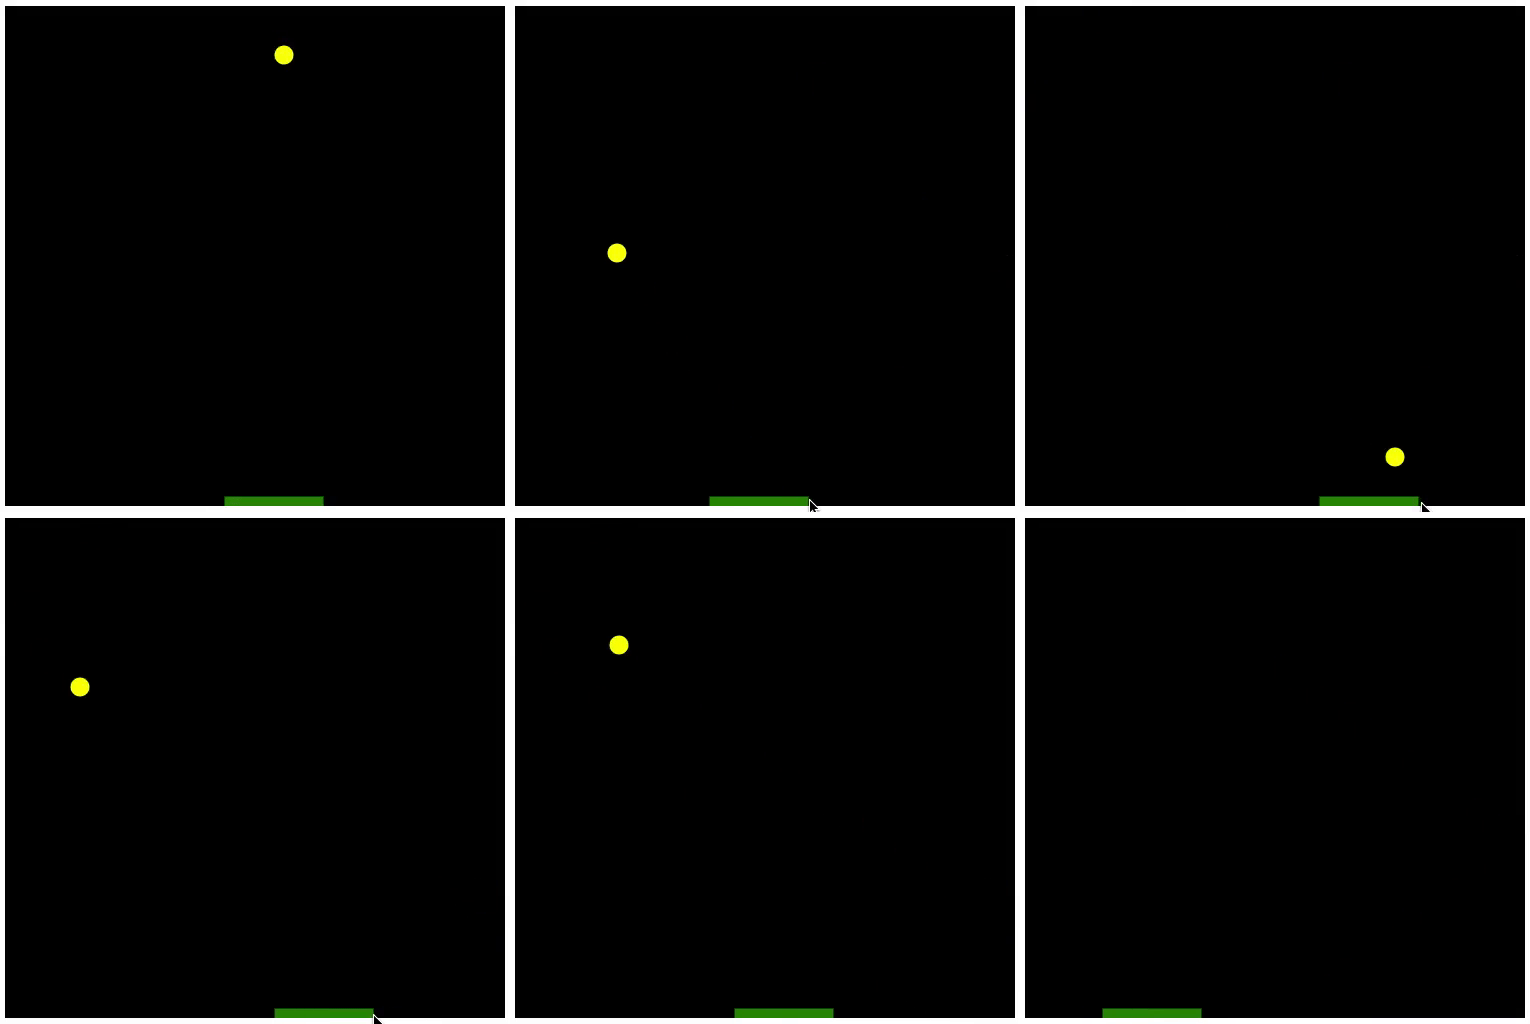
パドルと衝突したときに,ボールのY方向の速度を反転させます. このとき,パドルの左側に衝突したときは,ボールを左側に加速させ,パドルの右側に衝突したときは,ボールを右側に加速させます. この加速がないと,ボールは同じ軌道を何度も繰り返してしまいます.
draw(sketch){
  sketch.background("black");

  sketch.fill("green");
  sketch.rect(this.player_x - 50, this.player_y, 100, 50);

  sketch.fill("yellow");
  sketch.circle(this.ball_x, this.ball_y, 20);

  this.ball_x += this.ball_x_speed;
  this.ball_y += this.ball_y_speed;

  if(this.ball_x < 10 || this.ball_x > 490){
    this.ball_x_speed = -1 * this.ball_x_speed
  }

  if(this.ball_y < 10){
    this.ball_y_speed = -1 * this.ball_y_speed;
  }

  // パドルと衝突したらY方向の速度を反転
  if((490 <= this.ball_y) && (this.ball_y <= 500)){

    // パドルの左側ならX方向の速度を1だけ減らす
    if((this.player_x - 50 <= this.ball_x) && (this.ball_x <= this.player_x)){
      this.ball_y_speed = -1 * this.ball_y_speed;
      this.ball_x_speed -= 1; // 左方向に加速
    }
	// パドルの右側ならX方向の速度を1だけ増やす
    else if((this.player_x <= this.ball_x) && (this.ball_x <= this.player_x + 50)){
      this.ball_y_speed = -1 * this.ball_y_speed;
      this.ball_x_speed += 1; // 右方向に加速
    }
  }

}
キーポイント
- 衝突処理はif文で座標の重なりをチェック
アプリの確認
See the Pen Chapter11 課題 by Naoto Mukai (@nmukai) on CodePen.
課題
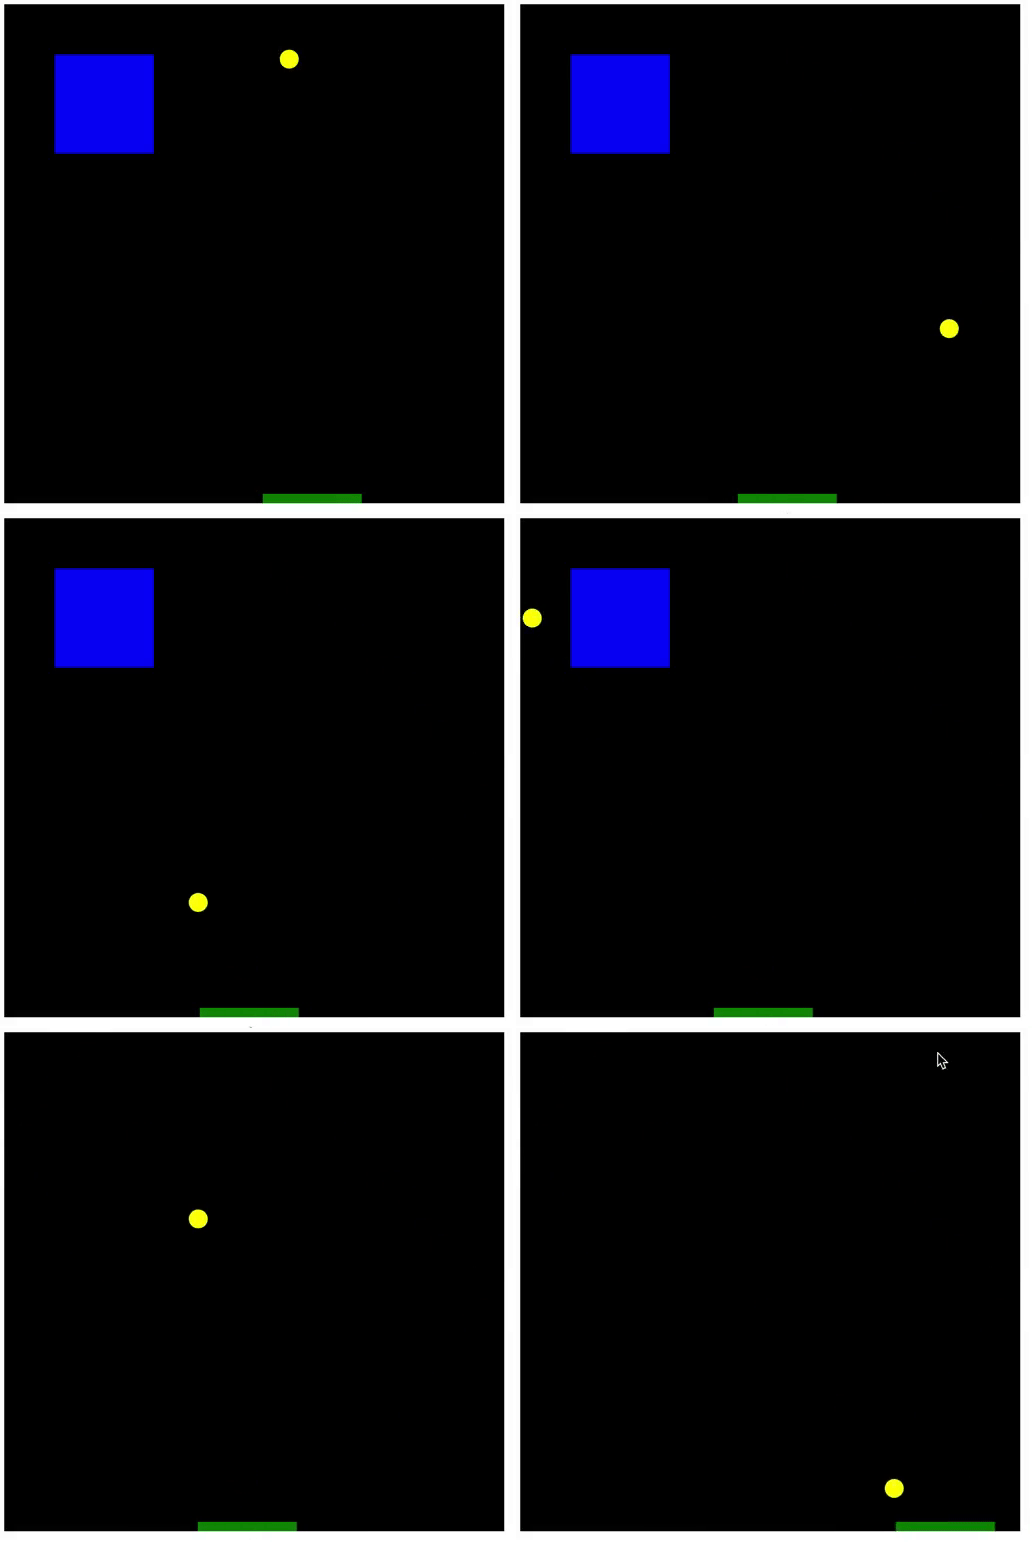
次の図を参考にブロックを画面に配置し,ボールがブロックと衝突したら非表示にしてください.
課題を完成させたら,Penの ZIPファイル と リンク を提出してください. 提出方法は初回のWebアプリの開発を参考にしてください.
